How to quickly set up the MooseFS cluster in Google Cloud
In this article, we will show you how to create a MooseFS cluster in Google Cloud! We will set up machines starting from standard Linux image. You will be able to create such a cluster on your own!
MooseFS Cluster in Google Cloud Compute Engine
We will use the GCP console to create MooseFS cluster in Google Cloud with the master instance and 3 chunkserver instances. This guide uses Debian GNU/Linux 9 but you can choose Ubuntu 16.04.
Create Master Instance
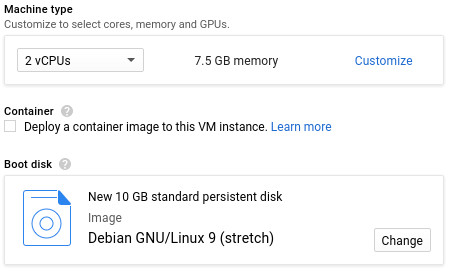
For the master server, we will use an instance with 2 vCPUs, 7.5GB RAM, and 10GB HDD with Debian 9 stretch preinstalled. See hardware Master Server requirements
- First of all, go to Compute Engine/VM instances
- Create an instance.
- Set instance name to mfsmaster and choose a region for your machine. Use the same region for all instances in this tutorial to minimize the latency.
- Choose 2 vCPUs

GCP mfsmaster machine configuration - Expand Management, security, disks, networking, sole tenancy section and click on the networking tab
- Add Network tag: moosefs-cgi. This will allow us to add a firewall rule to use MooseFS CGI from the browser.
- Finally, click create
- After a moment you should see a similar result in Compute Engine/VM instances

Mfsmaster created in GCP Compute Engine
Create Firewall Rule for MooseFS CGI
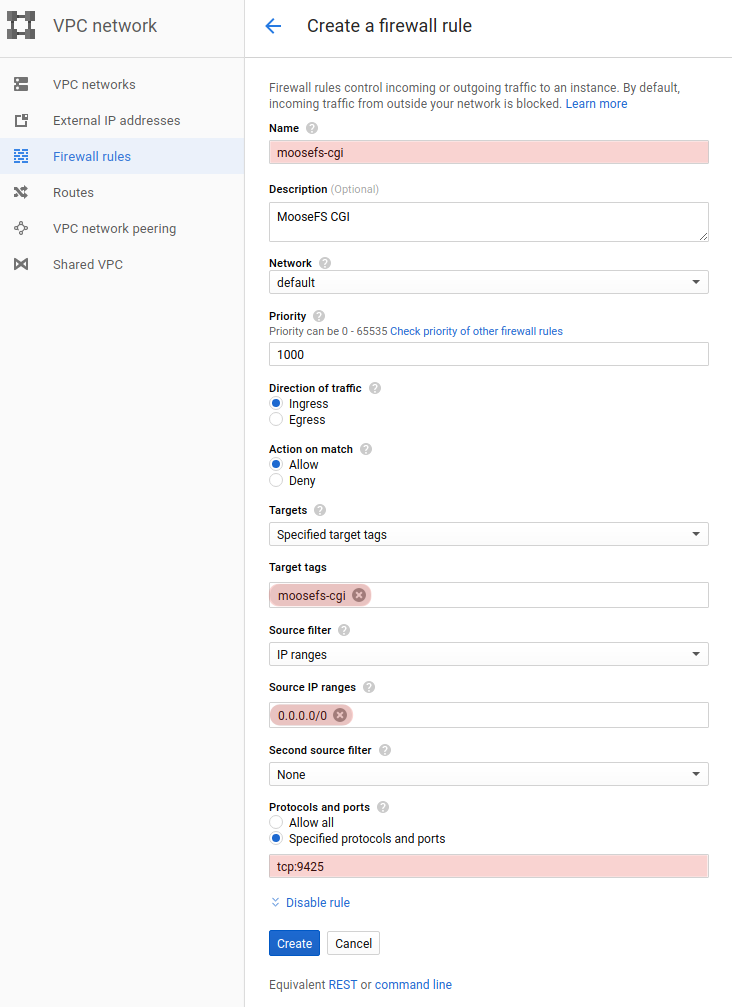
Now we will add a firewall rule to allow connecting to MooseFS CGI mfsmaster:9425
- First, go to VPC Network to Firewall rules tab
- Then click Create Firewall Rule

Firewall rule for MooseFS CGI in Google Cloud - Set name and tag to moosefs-cgi
- Set source IP to yours. We will use 0.0.0.0/0 which is not recommended practice since everyone will have access
- Finally set protocol and port: tcp:9425 and create the rule
- You should be able to see the rule in the list

MooseFS CGI Firewall rule in Google Cloud
Install MooseFS repository
First of all, connect to your machine using SSH
Update your system
sudo su
apt update
apt upgrade -y
Download and add repository key:
wget -O - https://ppa.moosefs.com/moosefs.key | apt-key add -
Add an appropriate repository entry in /etc/apt/sources.list.d/moosefs.list:nano
echo "deb http://ppa.moosefs.com/moosefs-3/apt/$(awk -F= '$1=="ID" { print $2 ;}' /etc/os-release)/$(lsb_release -sc) $(lsb_release -sc) main" > /etc/apt/sources.list.d/moosefs.listAnd run:
apt update
Install MooseFS Master
And now you can install the Master with CGI using the following command:
apt install moosefs-master moosefs-cgi moosefs-cgiserv moosefs-cli
To start the master server simply type:
mfsmaster
We don’t recommend to automatically start MooseFS Master, so you will need run it manually on every restart.
To enable autostart of MooseFS CGI run these commands:
systemctl enable moosefs-cgiserv
systemctl start moosefs-cgiserv
Look at MooseFS CGI
If you open in browser htttp://MASTER-EXTERNAL-IP:9425 (replace MASTER-EXTERNAL-IP with the external IP address of your MooseFS master machine), you should be able to see CGI:
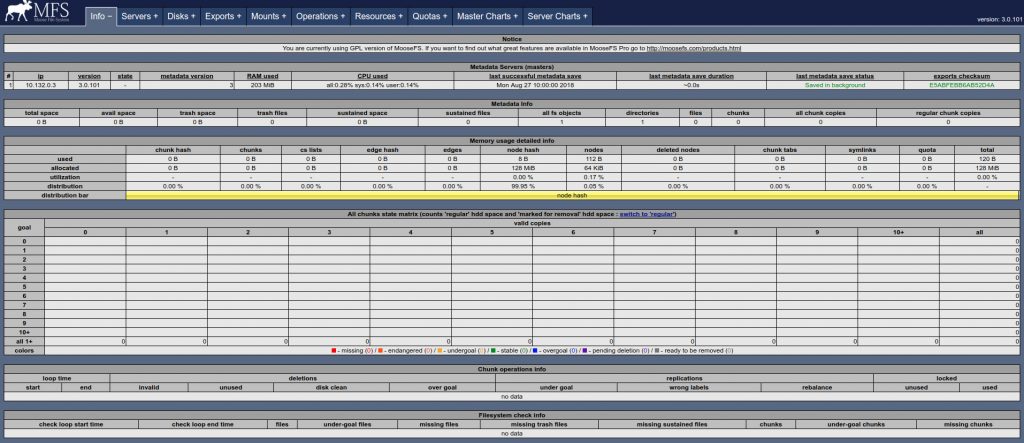
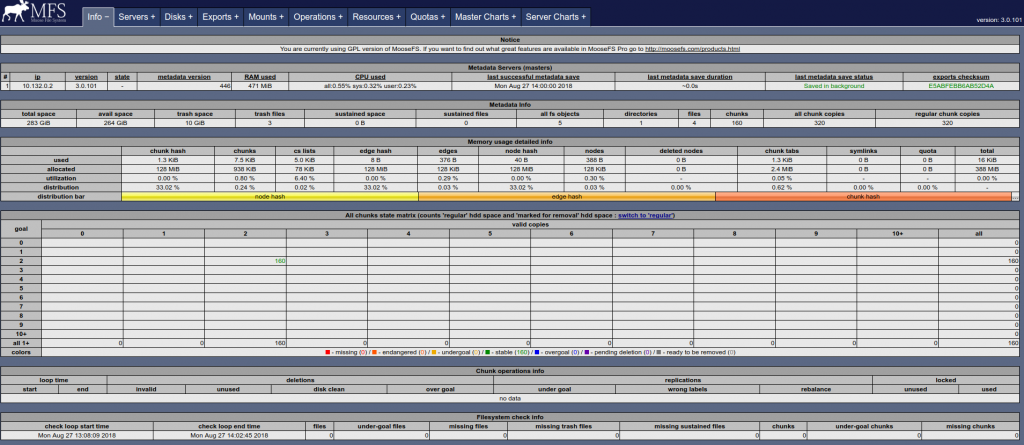
The grid with the goals in Info tab will be empty and after you create some files you will see chunks status there. The default goal is set to 2, so each chunk of the file should be on two servers. If all chunks are in cell 2/2 it means all the files are synced and the cluster is balanced. In Servers tab you will see later the status of your three chunkservers and disk space available.
Create Chunkserver instance
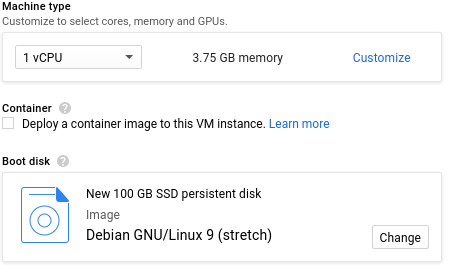
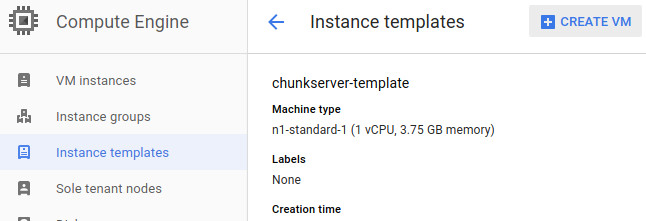
In contrast to the master server, for the chunkserver machines, we will use n1-standard-1 (1 vCPU, 3.75 GB memory) with 100GB SSD disks.
- Go to Compute Engine/VM instances
- Create an instance.
- Set instance name to chunkserver and choose the very same region as for master server.
- Change boot disk to 100GB SSD

MooseFS Chunkserver machine configuration in Google Cloud - Click create
- After a moment you should see a similar result in Compute Engine/VM instances

MooseFS Chunkserver host created in GCP Compute Engine
Install MooseFS repository
In this step, we will, similarly as before, install the MooseFS repository.
Connect to your machine using SSH
Update your system
sudo su
apt update
apt upgrade -y
Download and add repository key:
wget -O - https://ppa.moosefs.com/moosefs.key | apt-key add -
Add an appropriate repository entry in /etc/apt/sources.list.d/moosefs.list:
echo "deb http://ppa.moosefs.com/moosefs-3/apt/$(awk -F= '$1=="ID" { print $2 ;}' /etc/os-release)/$(lsb_release -sc) $(lsb_release -sc) main" > /etc/apt/sources.list.d/moosefs.listAnd run:
apt update
Install MooseFS Chunkserver
To install chunkserver type the following:
apt install moosefs-chunkserver
Configure MooseFS Chunkserver
To run chunkserver we will need to define disks for MooseFS. Chunkserver reads disks configuration from /etc/mfs/mfshdd.cfg file. We will configure it to use all of the space on the disk leaving 5GB free:
mkdir -p /mnt/hd1
chown -R mfs:mfs /mnt/hd1
echo "/mnt/hd1 -5GiB" >> /etc/mfs/mfshdd.cfg
Autostart vs instance template
Warning!
If you want to create chunkserver instance template – don’t start MooseFS Chunkserver process! It will register to Master server and it won’t connect to any other master servers. If you want to create snapshot/image with an autostarting Chunkserver process, turn off MooseFS Master instance, run next two lines and create the image.
To enable autostart of MooseFS run these commands:
systemctl enable moosefs-chunkserver
systemctl start moosefs-chunkserver
MooseFS Chunkserver status in MooseFS CGI
You can check Chunkservers status in CGI by visiting Servers tab:

Create chunkserver instance template
Because we will create more than 1-2 instances of chunkserver, we will
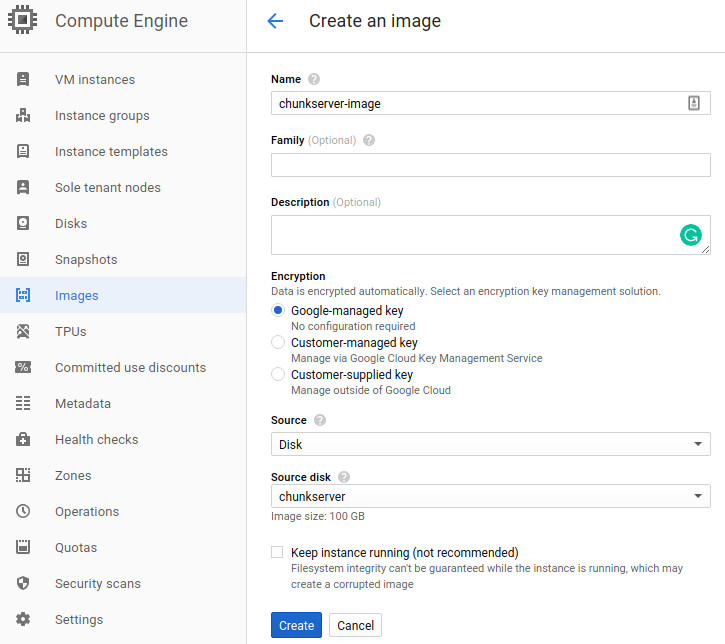
To clone the instance with the disk we will need to create an image of the disk. Then we will create an instance template to easily create the next 2 chunkserver instances.
- To create disk image first stop chunkserver on Compute Engine/VM instances after creating image step run it again.
- Go to Compute Engine/Images
- Create an image

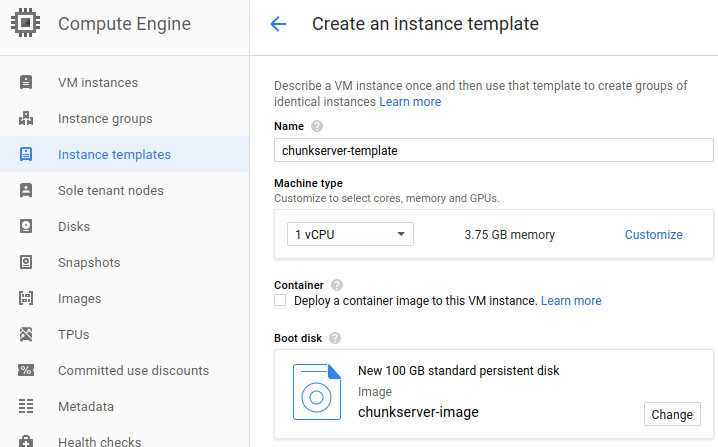
Create chunkserver disk image - Go to Compute Engine/Instance templates
- Create instance template
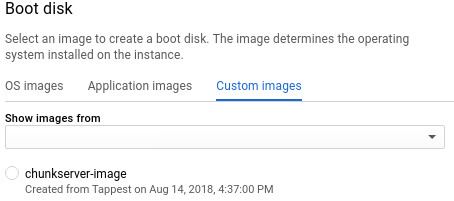
- Change disk, choose disk from the image

Chunkserver boot disk from the image - Now we will create the chunkserver-template
MooseFS Chunkservers from the template
We will create two chunkservers using the instance template.
- Create VM from chunkserver-template

Create a chunkserver machine from instance template - Create chunkserver-1 instance. Choose the same zone as before because of low latency.
- And create another instance chunkserver-2 in the same zone as before. As a result, you should be able to see 3 chunkservers and master machine.

CGI status with 3 chunkservers
We will check MooseFS status after adding two chunkservers.

Connect to the MooseFS storage
In order to mount the storage, you will obviously need a machine. You can create a new VM instance and install the MooseFS repository or connect to chunkserver. In both cases, you will need to install MooseFS Client with the following command as the superuser:
apt install moosefs-client
You should now be able to mount MooseFS, so we will create /mnt/moosefs directory and mount storage there.
mkdir /mnt/moosefs
mfsmount /mnt/moosefs/
MooseFS mounts in CGI
You can check how many mounts exist with the CGI

Create a file
Now we will create a file in MooseFS and we will check where the file is written. We will also shut down one of the servers to check redundancy. To create a 10GB file we will use the dd command:
dd if=/dev/zero of=/mnt/moosefs/test-1-gigabyte-file bs=4k iflag=fullblock,count_bytes count=1G
ls -lh /mnt/moosefs
Now you should see a new 1GB file in /mnt/moosefs. You can check MooseFS status in MooseFS CGI
Shutdown one of chunkservers
You can shut down one of the chunkservers to see how MooseFS will react. You should be able to see that some of the chunks are now only on one of the servers. These chunks are labeled as undergoal because they are in fewer instances than the goal. The server will be temporarily flagged as in maintenance – you can remove server completely in Servers tab to start the data replication process.

Summary
You just learn how to easily set up the MooseFS cluster in Google Cloud!
Now you can check the best practices for maximum performance or how to train neural networks using Tensorflow and MooseFS!
